19. Import the Project Code into IntelliJ
Import instructions
1. Import the Project into IntelliJ
Open IntelliJ and if you have any programs open, close out of them to get to the Welcome screen again. This time, instead of selecting Create New Project, select Import Project.
IntelliJ import screen
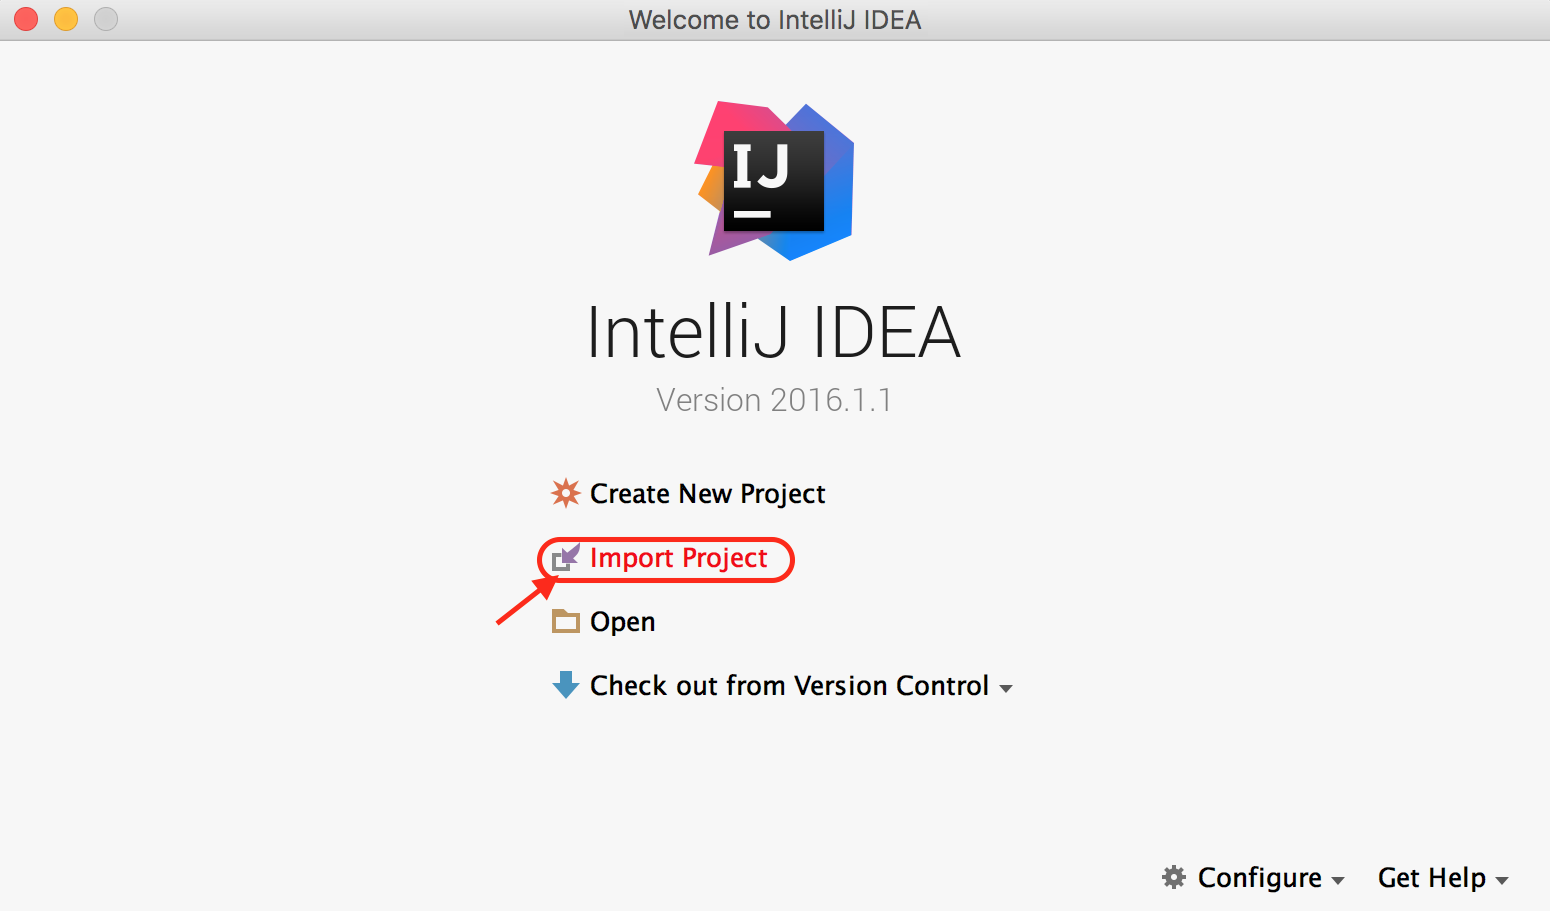
Import Project screen.
import 2
When you click Import Project a window should pop up prompting you to import the project from some folder.
2
Navigate to where you’ve saved the ud282-master folder, if that’s your desktop, the file path will be: Desktop > ud282-master > Project 1 - TicTacToe
Project directory
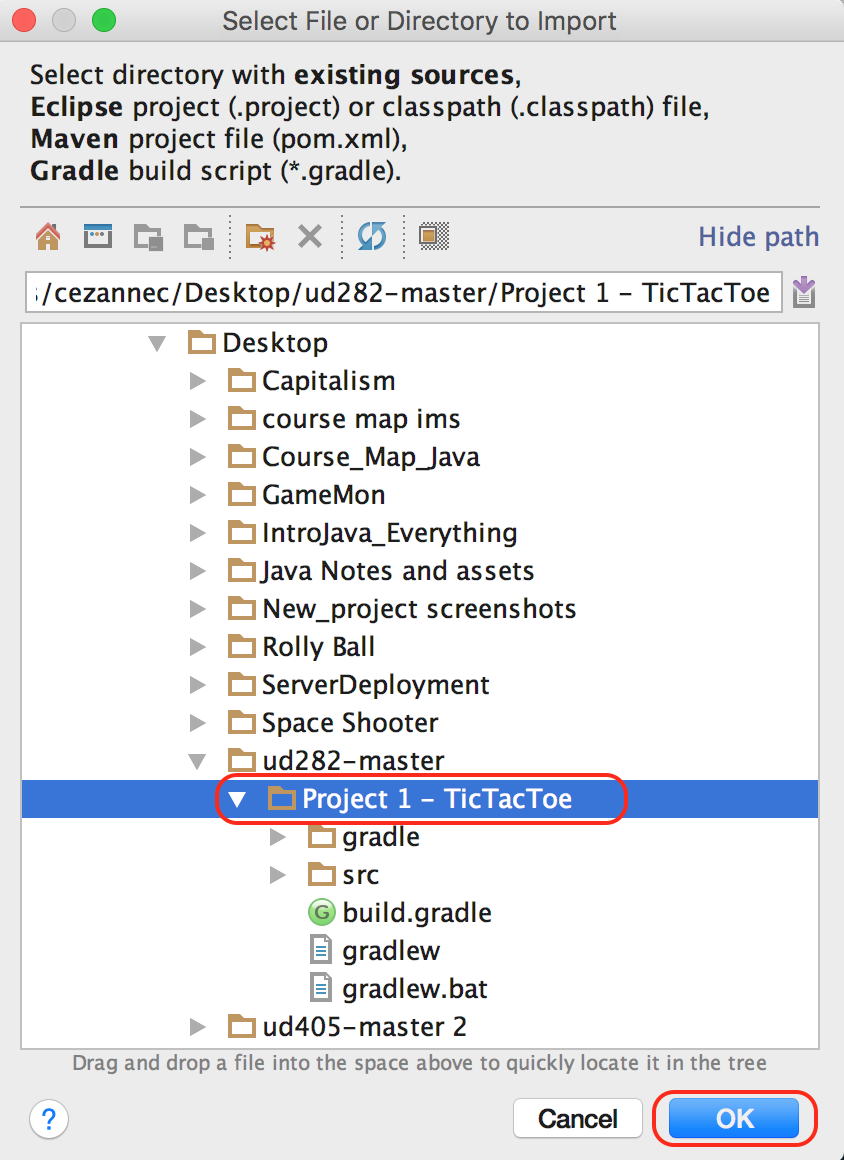
Select Project 1 - TicTacToe.
Gradle import
Select the Project 1 - TicTacToe folder, as above, and click Okay.
2. Import using Gradle (external model)
The next window will ask you if you want to import a project from an external model, and you do!
Select this button and choose the Gradle option, then click Next!
External model import

external model
Gradle is something called a build tool that helps developers package projects.
3. Use the Gradle Wrapper
Our code includes a Gradle wrapper in it, which is basically a way to use Gradle without making you download anything extra. So, select this wrapper and click Finish!
Gradle wrapper
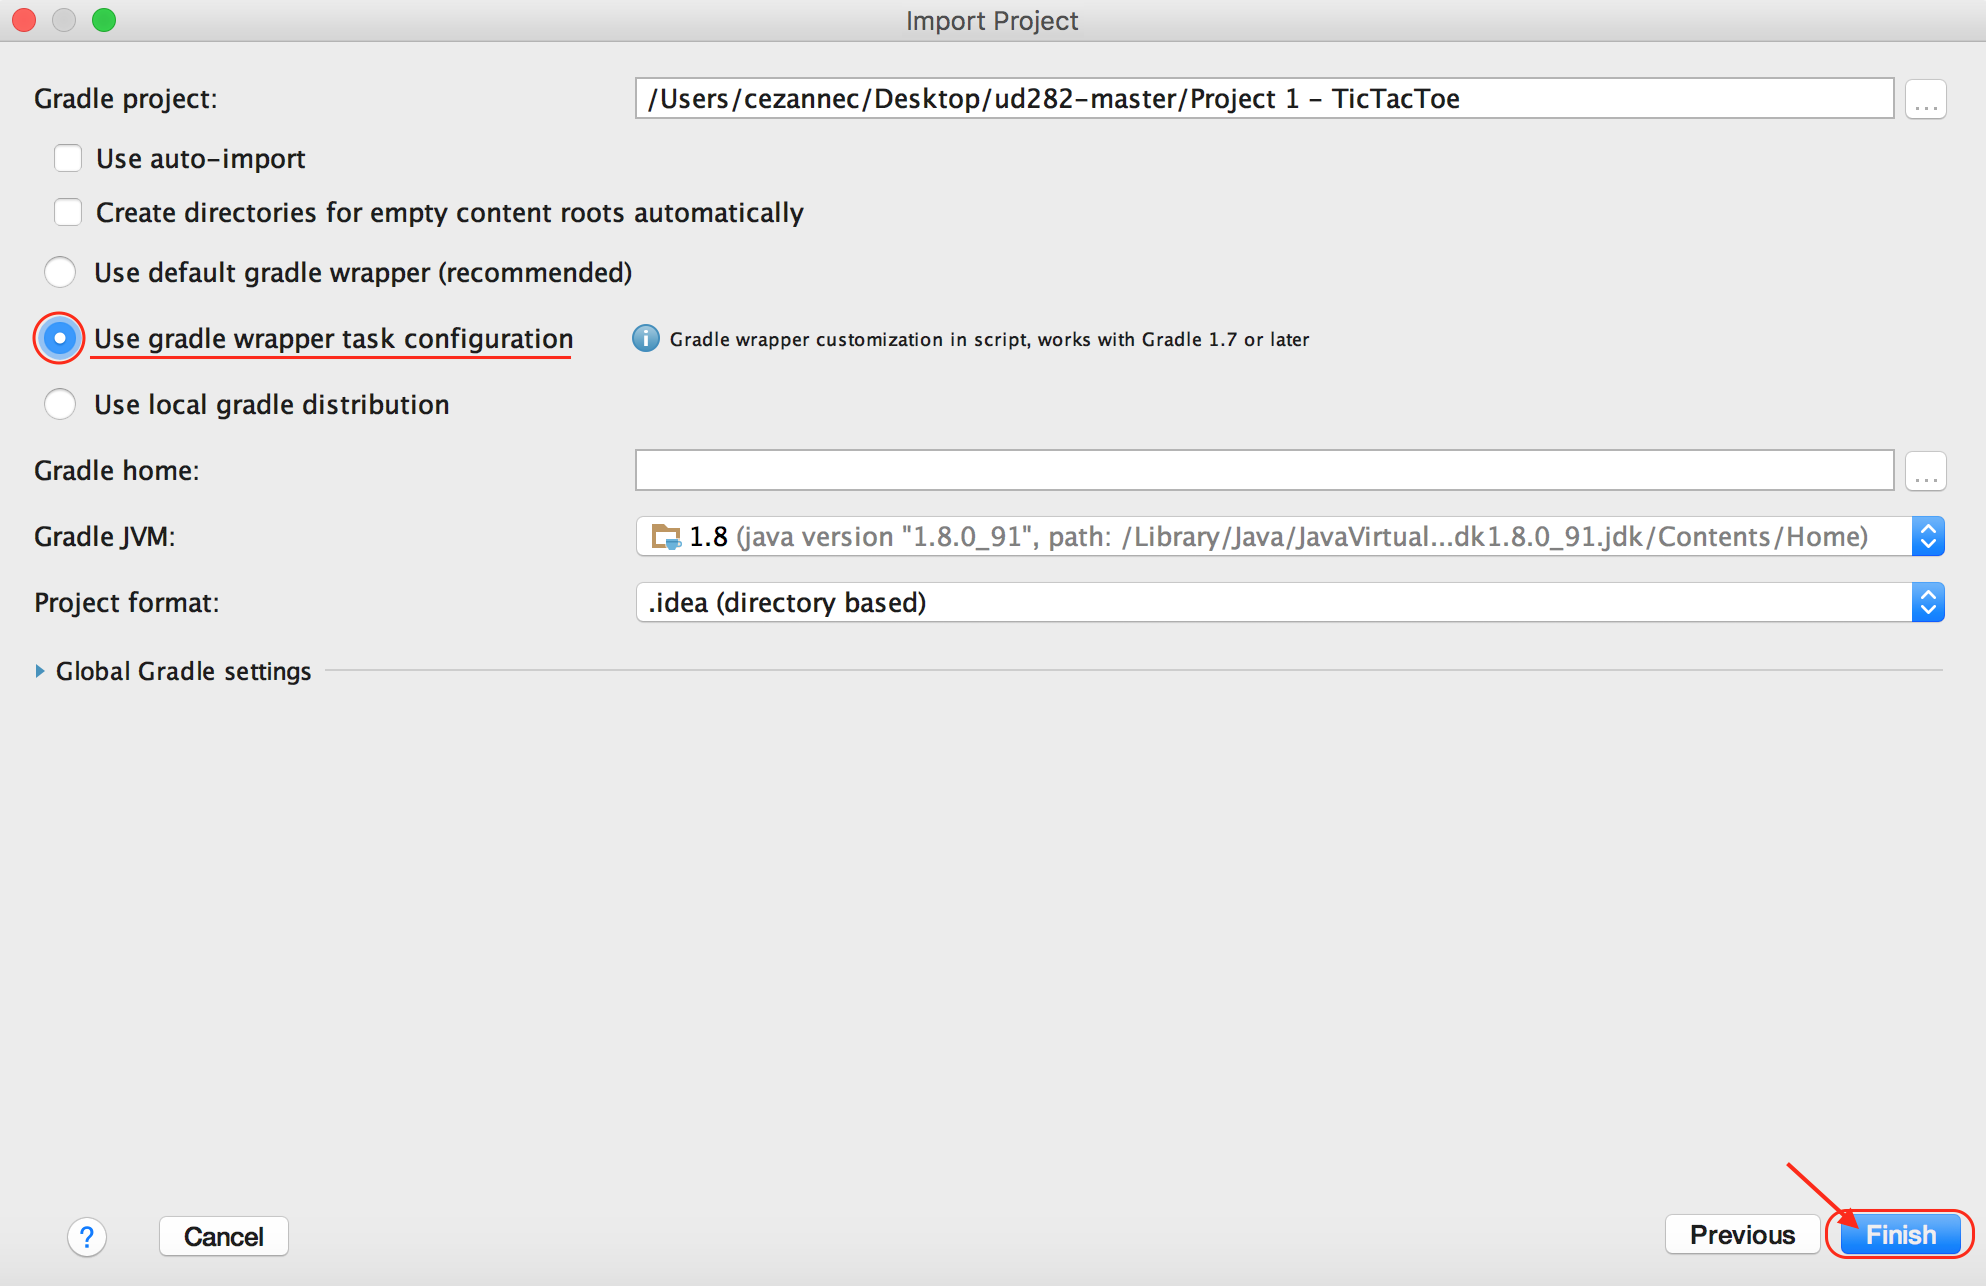
Use gradle wrapper task configuration.
next4
4. Open Game.java
IntelliJ should now have successfully imported all the Tic Tac Toe code! And you should see an IntelliJ window open up with the project directory an the left side of the screen and an empty window on the right.
Imported project
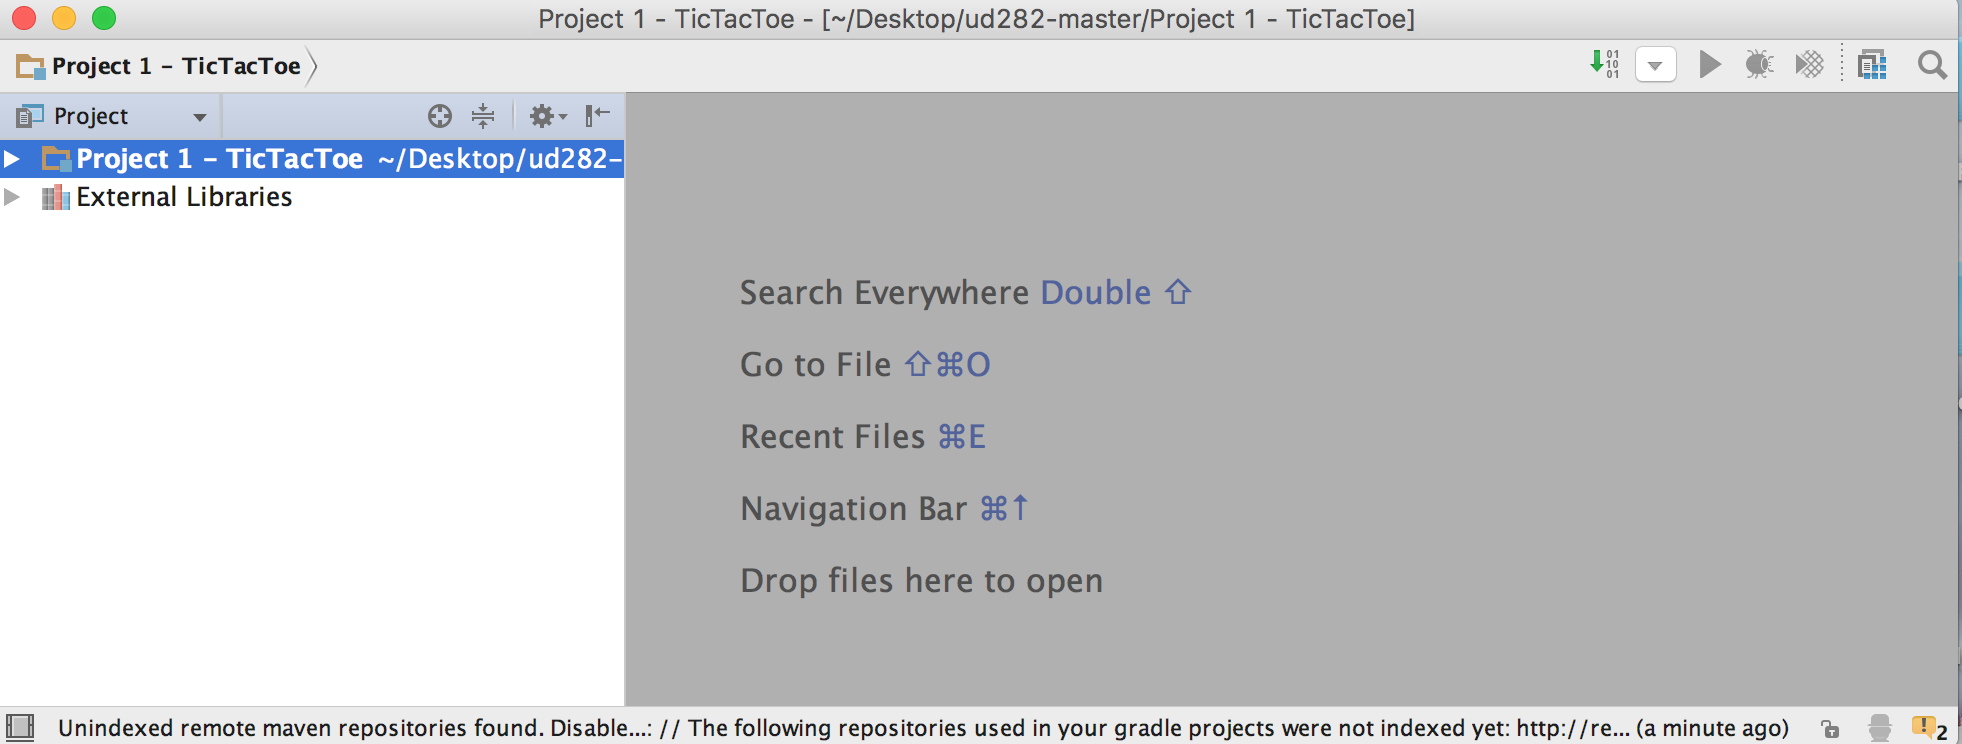
Imported project.
game.java
The code that runs the Tic Tac Toe game, and that you'll be adding to, is in one file called Game.java.
Open this file by navigating to Project 1 > src > main > java > com.udacity > Game in your project directory. Double-click on Game to open it.
Game.java
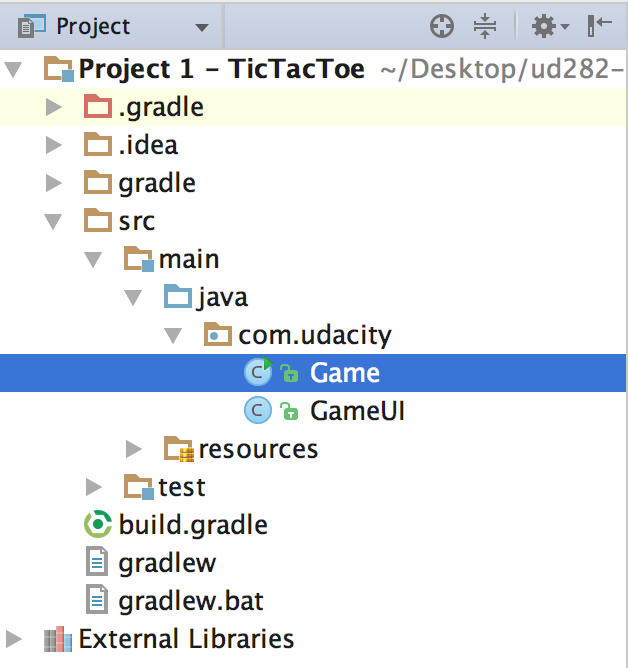
Open Game.java.
game_nav
And you should see the Game.java code appear on the right side of your screen! Even though this code is incomplete (it can't yet detect when a player wins), you can still run it, but before you can run it, you'll have to build it and set up the run configuration.
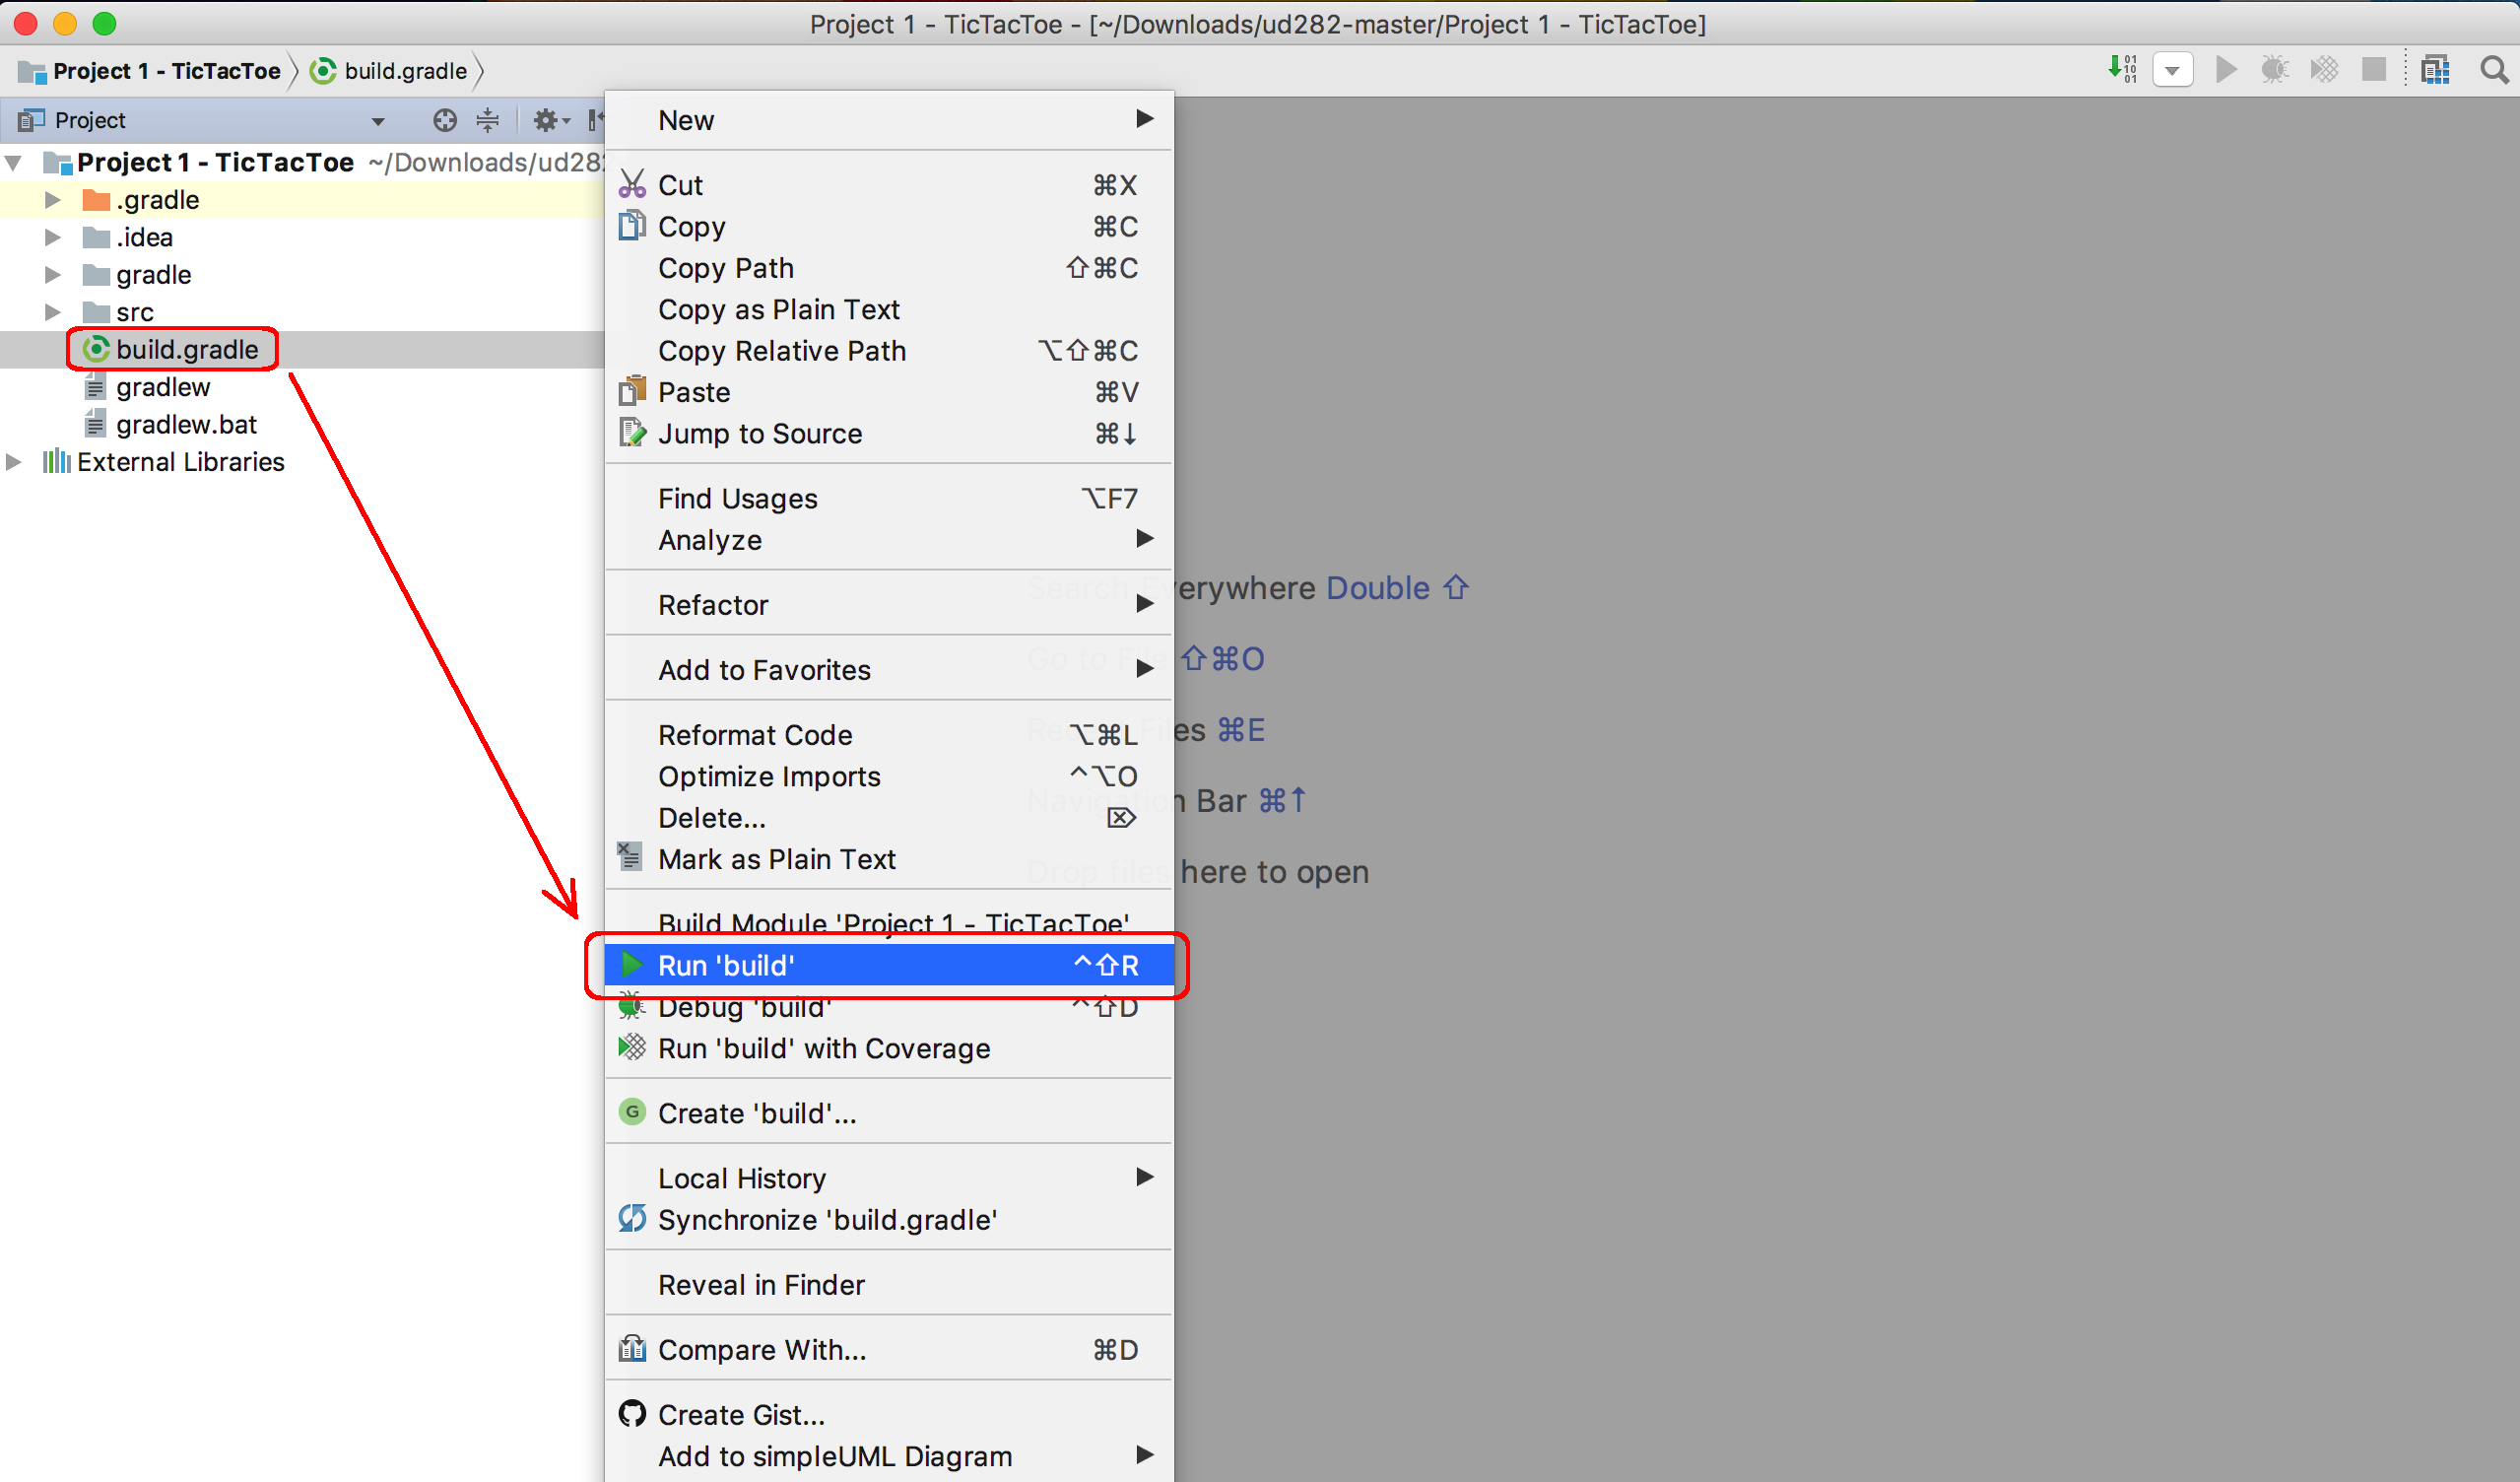
Usually gradle will run a build automatically once imported, but incase that didn't happen, navigate through the project directory and right click on Project 1 > build.gradle then click on the run build option in the menu
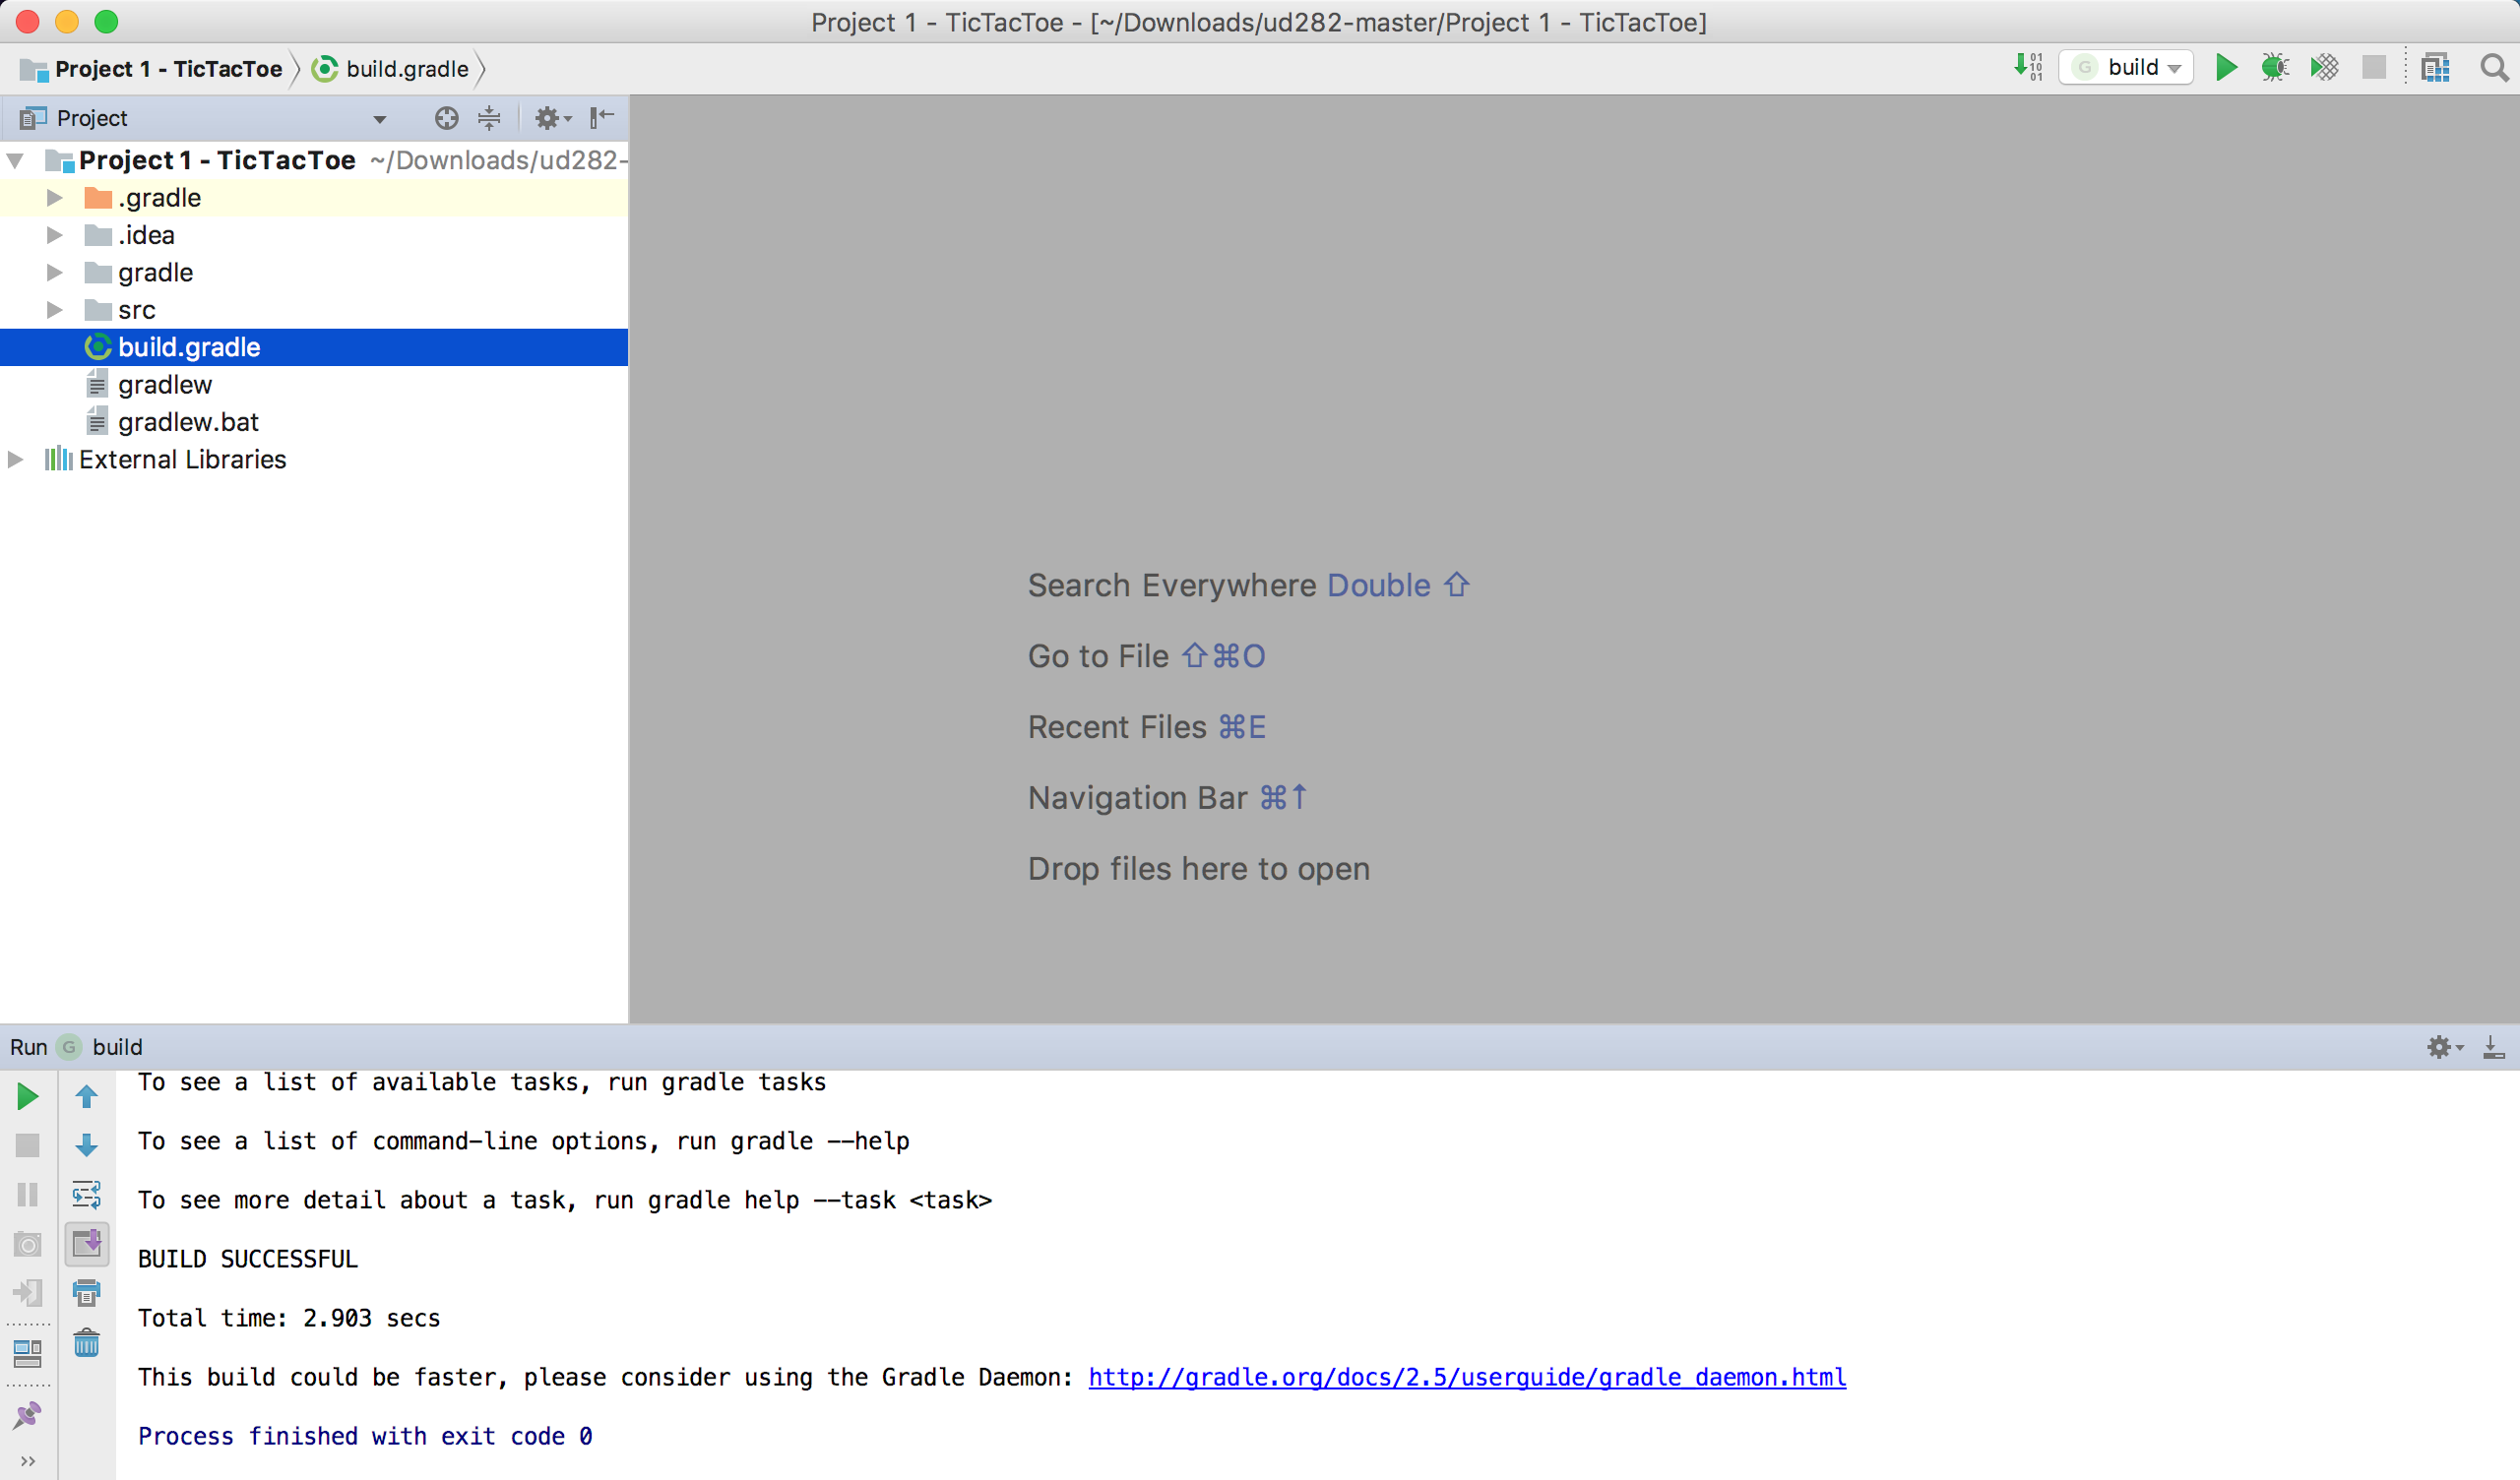
Once the build is complete you should see the log message BUILD SUCCESSFUL appear in the bottom panel.
**
Next, let's edit the run configurations and run the game!!
**